Skip to content
Faucet with text about removing hard water stains.

How to Remove Stubborn Hard-Water Stains on Faucets & Showerheads

We’ve all seen it: that white, chalky buildup on faucets and showerheads that doesn’t budge, no matter how hard or often you scrub. These deposits aren’t just unsightly; they can also affect water flow and damage your fixtures over time.

But with the right strategies, you can eliminate those stubborn stains and keep them from returning. Let’s dive into why hard water causes these issues, how to remove buildup using both DIY and commercial methods, and tips on long-term prevention.

Black faucet and sink with granite countertop and flowers in the background.

1. What Is Hard Water and Why Does It Cause Stains?

Hard water is water that contains a high concentration of minerals—primarily calcium and magnesium. These minerals are picked up as water travels through soil and rock before reaching your home’s water supply.

85% of the US has hard water, so it’s an issue that most of us have dealt with at some point.

Here’s why hard water leads to pesky stains:

  1. Mineral Residue

    • When water evaporates from surfaces, such as faucets or showerheads, it leaves behind the mineral content. Over time, these minerals accumulate and form a chalky or crusty residue.

    • The residue can appear white, gray, or even yellowish, depending on the exact mineral composition and the surface material.

  2. Resistance to Standard Cleaners

    • Many household all-purpose cleaners aren’t formulated to dissolve mineral deposits. They may remove dirt or soap scum but fall short when it comes to tackling hard-water stains.

    • Scrubbing alone often can’t break down the hardened buildup, especially in tight crevices or on textured surfaces.

  3. Potential Fixture Damage

    • The prolonged presence of mineral deposits can clog faucet aerators or shower nozzles, leading to reduced water pressure.

    • Over time, the buildup can also corrode certain finishes or cause discoloration, making it more than just a cosmetic concern.

Understanding the root cause—mineral deposits—is the first step to choosing the right cleaning strategy. Whether you opt for a DIY approach or a commercial product, the key is to use something specifically designed to dissolve or soften these minerals.

Showerhead in a modern bathroom with green plants and gray tiles.

2. DIY Solutions to Banish Hard-Water Stains

DIY methods can be highly effective—and budget-friendly—for removing mineral buildup. Most methods use everyday household items that are gentle on your fixtures but tough on deposits.

Vinegar Soaks

Why Vinegar?
Vinegar is mildly acidic, which allows it to break down mineral deposits without using harsh chemicals. It’s also readily available and inexpensive.

How to Do It:

  1. Submerge Removable Parts

    • If you can remove your showerhead or faucet aerator, fill a bowl or bucket with a 1:1 mixture of white vinegar and warm water.

    • Soak the items for 15–30 minutes. If the buildup is especially thick, you can leave them in for up to an hour.

  2. Bag Method for Fixed Fixtures

    • If you can’t remove the fixture, fill a plastic bag with the vinegar-water solution.

    • Secure it around the faucet or showerhead with a rubber band, ensuring the stained area is fully immersed.

    • Let it soak for the same duration, then carefully remove the bag.

  3. Scrub & Rinse

    • Use a soft toothbrush or non-abrasive microfiber scrubber to gently remove loosened deposits.

    • Rinse with plain water and wipe dry to prevent new spots from forming.

Pro Tips:

  • For very stubborn stains, you can heat the vinegar in the microwave for 10–15 seconds before use. Warm vinegar is more effective at breaking down minerals.

  • Always test vinegar on a small, inconspicuous area first, especially if your fixture has a special or delicate finish.

Baking Soda Paste

Baking soda is a mild abrasive, meaning it can help physically lift and scrub away mineral deposits without scratching most surfaces.

How to Do It:

  1. Create the Paste

    • Mix about three parts baking soda with one part water (or adjust until you get a thick, spreadable consistency).

  2. Apply

    • Spread the paste directly onto the mineral buildup.

    • Let it sit for 10–15 minutes to let the baking soda work on the stains.

  3. Scrub Gently

    • Use a non-abrasive microfiber scrubber, a soft cloth, or an old toothbrush to work the paste into the buildup.

    • Pay special attention to crevices or grooves where deposits may be hiding.

  4. Rinse & Dry

    • Wipe off the paste with a damp cloth or paper towel.

    • Rinse thoroughly with water to remove any residue, then dry to prevent water spots.

Pro Tips:

  • For an extra punch, you can add a few drops of dish soap or even vinegar to the baking soda paste, but be mindful of potential fizzing when vinegar is involved.

  • If you have a polished or delicate surface, test the paste in a small area first.

Lemon Juice

Lemon juice is naturally acidic and can dissolve mineral deposits while leaving behind a fresh, citrus scent. It also cuts through soap scum and adds a bit of shine.

How to Do It:

  1. Apply Directly

    • Cut a lemon in half and rub the cut side onto the stained area.

    • Alternatively, use bottled lemon juice and apply it with a cloth.

  2. Let It Sit

    • Allow the lemon juice to soak in for a few minutes.

    • If the area is heavily stained, you can reapply juice to keep it moist.

  3. Rinse & Polish

    • Rinse the fixture with water.

    • Buff dry with a soft cloth to reveal a natural shine.


Pro Tips:

  • Lemon juice can be slightly more abrasive on certain finishes than vinegar, so do a patch test if your fixture has a specialized coating.

  • Combine lemon juice with salt for a gentle scrub, particularly helpful on tough stains.

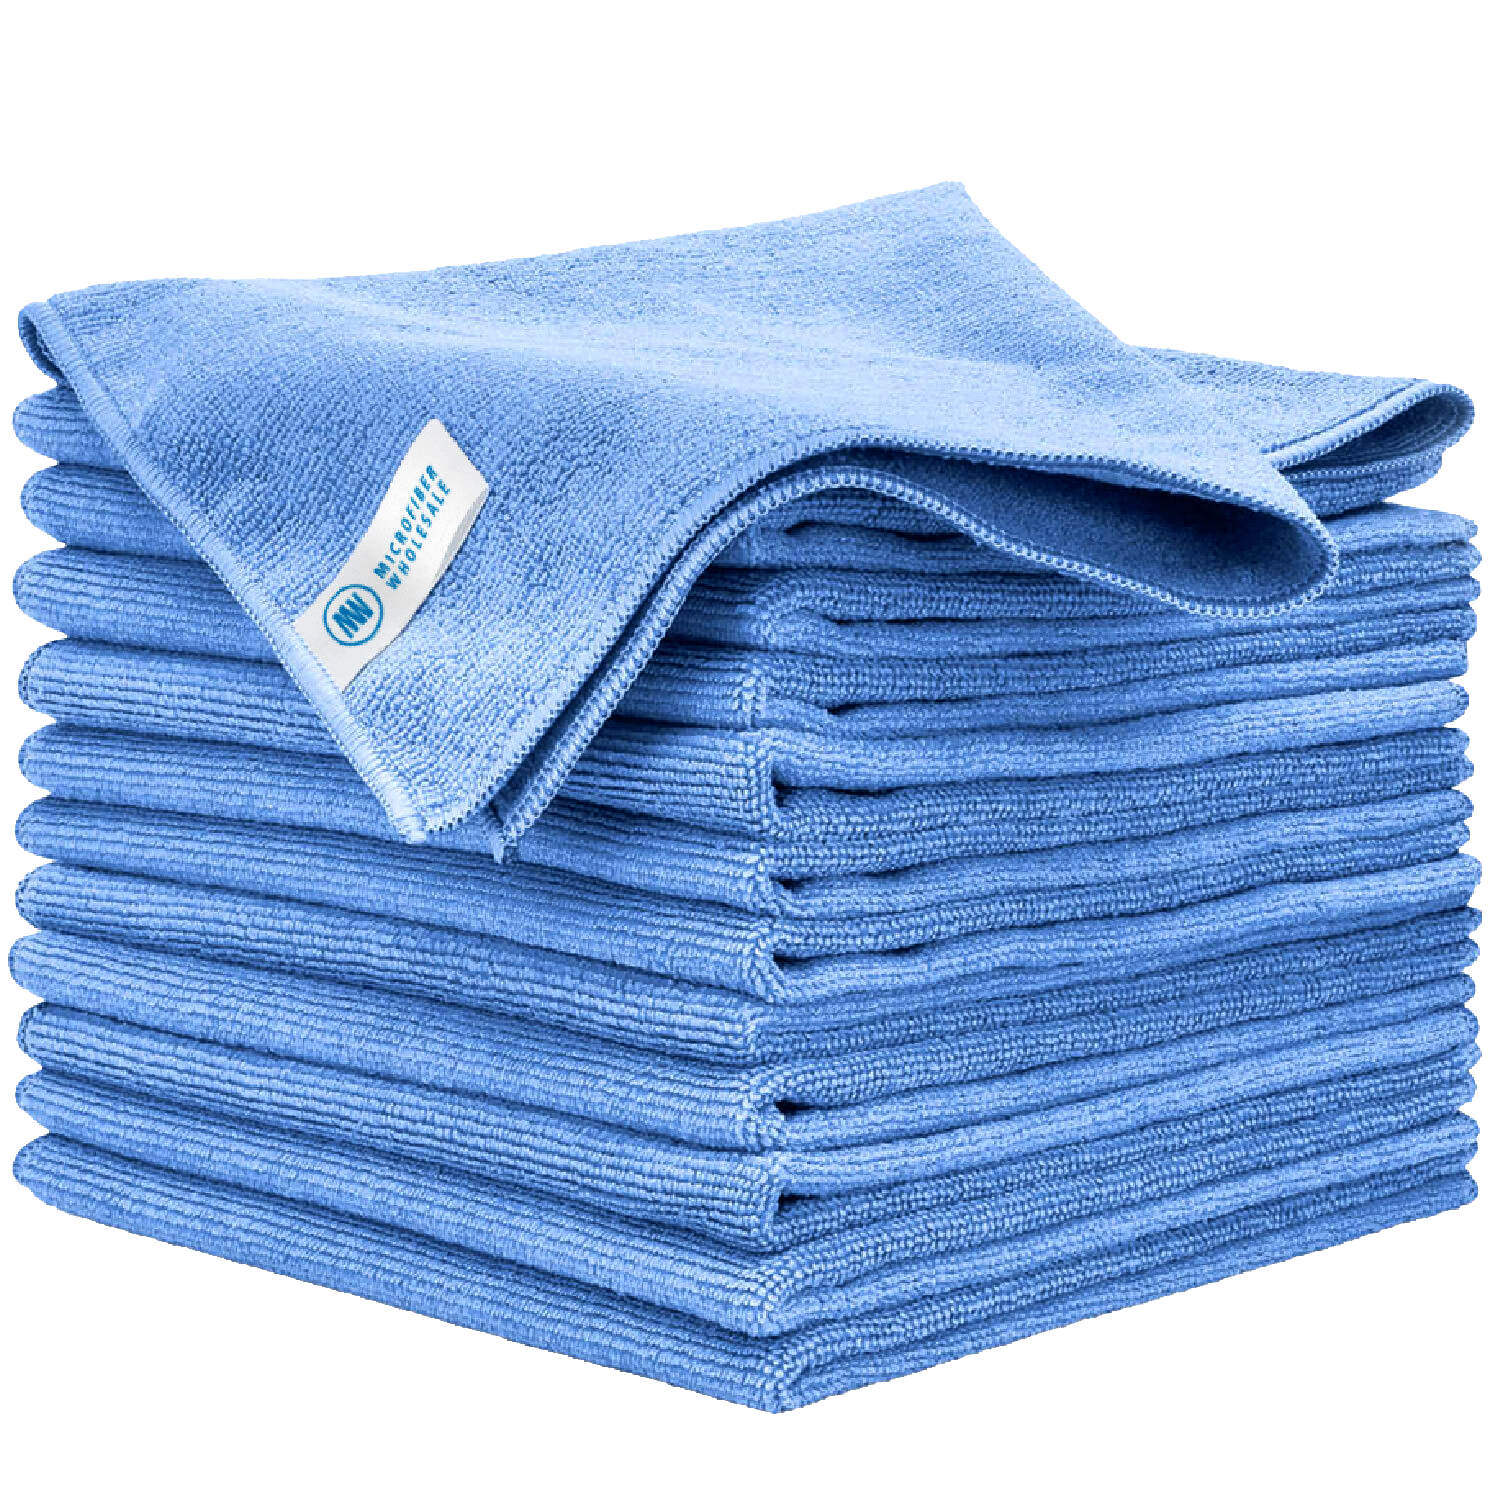
Premium Microfiber Towels

Microfiber Scrubber Cloth

3. Commercial Descalers and Other Store-Bought Solutions

DIY solutions work wonders for most households, but sometimes a store-bought option offers convenience or extra strength—especially if the buildup has been neglected for a long time.

  1. Descaling Products

    • These are specialized formulas designed to dissolve lime scale, calcium, and other mineral deposits.

    • Read labels to ensure they’re safe for your specific type of fixture (chrome, stainless steel, or specialty finishes like nickel or bronze).

  2. Application Tips

    • Always follow the manufacturer’s instructions for optimal results and safety.

    • Wear gloves and ensure proper ventilation if the product contains strong chemicals.

    • Some products may require repeated applications if the buildup is extensive.

  3. Multi-Surface Cleaners

    • Some bathroom and kitchen cleaners specifically mention hard-water stain removal on the label.

    • While convenient, they may not be as potent as dedicated descalers, so you might need multiple treatments.

Pro Tips:

  • Test the product on a hidden area first to ensure it doesn’t discolor or damage the finish.

  • If you’re unsure about which product to choose, check online reviews or consult a professional for recommendations based on your water hardness level.

A cozy kitchen with a sink and sunlight streaming through a window.

4. Preventive Measures to Keep Stains Away

Once you’ve removed the current buildup, prevention is your next best friend. Adopting a few simple habits can drastically reduce mineral deposits, saving you time and effort in the long run.

Install a Water Softener or Filter

  • Whole-House Softener: This system exchanges the calcium and magnesium in your water with sodium or potassium, lowering the risk of mineral deposits. While it’s an upfront investment, it can protect your pipes, appliances, and fixtures throughout the entire home.

  • Point-of-Use Filters: If installing a whole-house softener isn’t feasible, consider small-scale solutions like faucet-mounted filters or showerhead filters. They won’t eliminate all minerals but can reduce them significantly.

Products: ; ;

Wipe Surfaces After Use

  • After running water in the sink or shower, take a moment to wipe the fixtures dry with a microfiber cloth.

  • This simple step prevents water from evaporating on the surface, leaving behind the minerals.

  • It’s a quick habit that can dramatically reduce buildup over time.

Regular Maintenance

  • Vinegar Rinse: Once a week or month (depending on the severity of your hard water), wipe down or briefly soak fixtures in vinegar. This routine maintenance keeps buildup from getting out of control.

  • Clean Aerators: Faucet aerators can become clogged with mineral deposits. Periodically remove and soak them in vinegar, then rinse before reattaching. This helps maintain water flow and pressure.

Mind Your Cleaning Products

  • Avoid Harsh Scrubbers: Steel wool or abrasive pads can scratch finishes, making them more prone to collecting minerals.

  • Check Labels: Some cleaners have added ingredients that can leave residues, which may attract even more buildup. Opt for products specifically labeled as “hard-water” or “lime scale” removers when dealing with mineral deposits.

Our best selling towels in 48 packs

Our MW Pro Multi Surface Microfiber Towels are the holy grail of cleaning tools. Professionals don't clean without them, and they're a must-have in every cleaning arsenal. Buy bulk and save big!

The 12"x12" is the perfect compact size for tackling smaller surfaces and items, like ornaments and bookshelves.

The 16"x16" allow you to clean larger areas like countertops and windows quickly without needing to replace towels frequently.

Deep Clean Hard Floors, Effortlessly.


  • Featured Articles

    10 Ways to Improve Air Quality at Home
    Essential Checklist for Cleaning Up After a Winter Freeze
    How to Share Household Chores
    FAQ's

    Find answers to our most frequently asked questions.

    How To Videos

    Watch how to efficiently and effectively use your microfiber.

    Articles

    Articles and tech tips on how to best use and care for your microfiber.

    Interviews

    Learn the best microfiber cleaning techniques from practiced professionals.

    Continue To Cart Continue To Customize

    By continuing with your order, you acknowledge and agree to the following:

    Our property-marked towels are printed with a repeating pattern, and logo placement may vary from towel to towel.

    You’ve chosen between receiving an emailed digital proof for a detailed review of your design at an additional cost of $20, or allowing our print team to use your uploaded file to prepare your order for printing.

    We do not accept returns for printed property marked towels.