Skip to content
Get Your Gym New Years Resolution-Ready

Get Your Gym New Years Resolution-Ready

Exercising and getting buff can be incredibly hard, but cleaning a gym doesn’t have to be!

Gyms are notorious for being dens of foul odors, dirt, and contagion because everyone is sweatily touching everything, no one cleans up after themselves properly, and all the grippy surfaces that help keep sweaty hands and sneakers from slipping also grip onto grime.

The good news is that just like with getting fit, the right cleaning personal trainer can teach you the moves to keep any gym looking as good as the bodybuilders using it! Athletic Center or home gym, big or small, these are the keys to clean them all!

1. Remove rubber floor grime


Of all the grossest things in a neglected gym, the floors are ALWAYS the worst, leaving hands looking like they’ve been fixing a car engine with every touch. The reason rubber floors get neglected is because the friction they create that keep sneakers in place also drags against mops, making them exhausting to clean. The trick to getting rubber floors clean without breaking a sweat is selecting tools with smaller contact points that help minimize the drag.

First, thoroughly vacuum the floor with a brush-based attachment, which can be a horsehair floor brush on a canister or backpack vacuum, or even an old upright vacuum with a spinning beater bar (just make sure to adjust the bar up so it’s not pressing too hard). Let the suction do the work, don’t scrub and drag the machine.  

Next, select a microfiber tube mop and two wringing mop buckets. Cotton mops leave ugly lint on rubber floors, while microfiber holds way more dirt. But microfiber flat mops drag on rubber floors, making microfiber tube mops the best of all worlds.

The two-bucket system lets you use one bucket for soap and the other for rinse water, saving you money, AND getting the floors far cleaner. Mix the soap bucket with your favorite neutral pH floor cleaner (ours is Mr. Clean or Fabuloso).

When you mop, dunk and wring out the soapy water, mop the floor in the classic figure-8 or S pattern till you’ve covered a small section. Then dunk and wring the dirty mop head in the fresh water and say EEEEWWWWWWW (swearing optional for home gym cleaners and late night cleaning crews only).

Recharge the rinsed head in the soapy bucket and get back to mopping with clean soapy water, instead of smearing saturated sweaty gym water all over the floor. Dump and refill the rinse bucket as often as needed till the entire floor is clean. Be careful to always wring out your mop well and never flood rubber floors, as water can seep into seams and non vulcanized rubber flooring.

Once the floor is deep cleaned, you can switch to a classic single mop bucket system for maintenance mopping, so long as you do it often enough to keep it from getting grimy again (a minimum of weekly to daily mopping depending on how busy the gym is).

2. Eliminate exercise equipment germs


Those tubs of wipes at the gym are nice for a quick fix, but they aren’t a substitute for real cleaning. Just misting dirty equipment with disinfectant isn’t much better, as disinfectants only work when they make direct contact with germs, so leftover dirt and body oils act like tiny little umbrellas shielding all the bad guys you're trying to annihilate.  

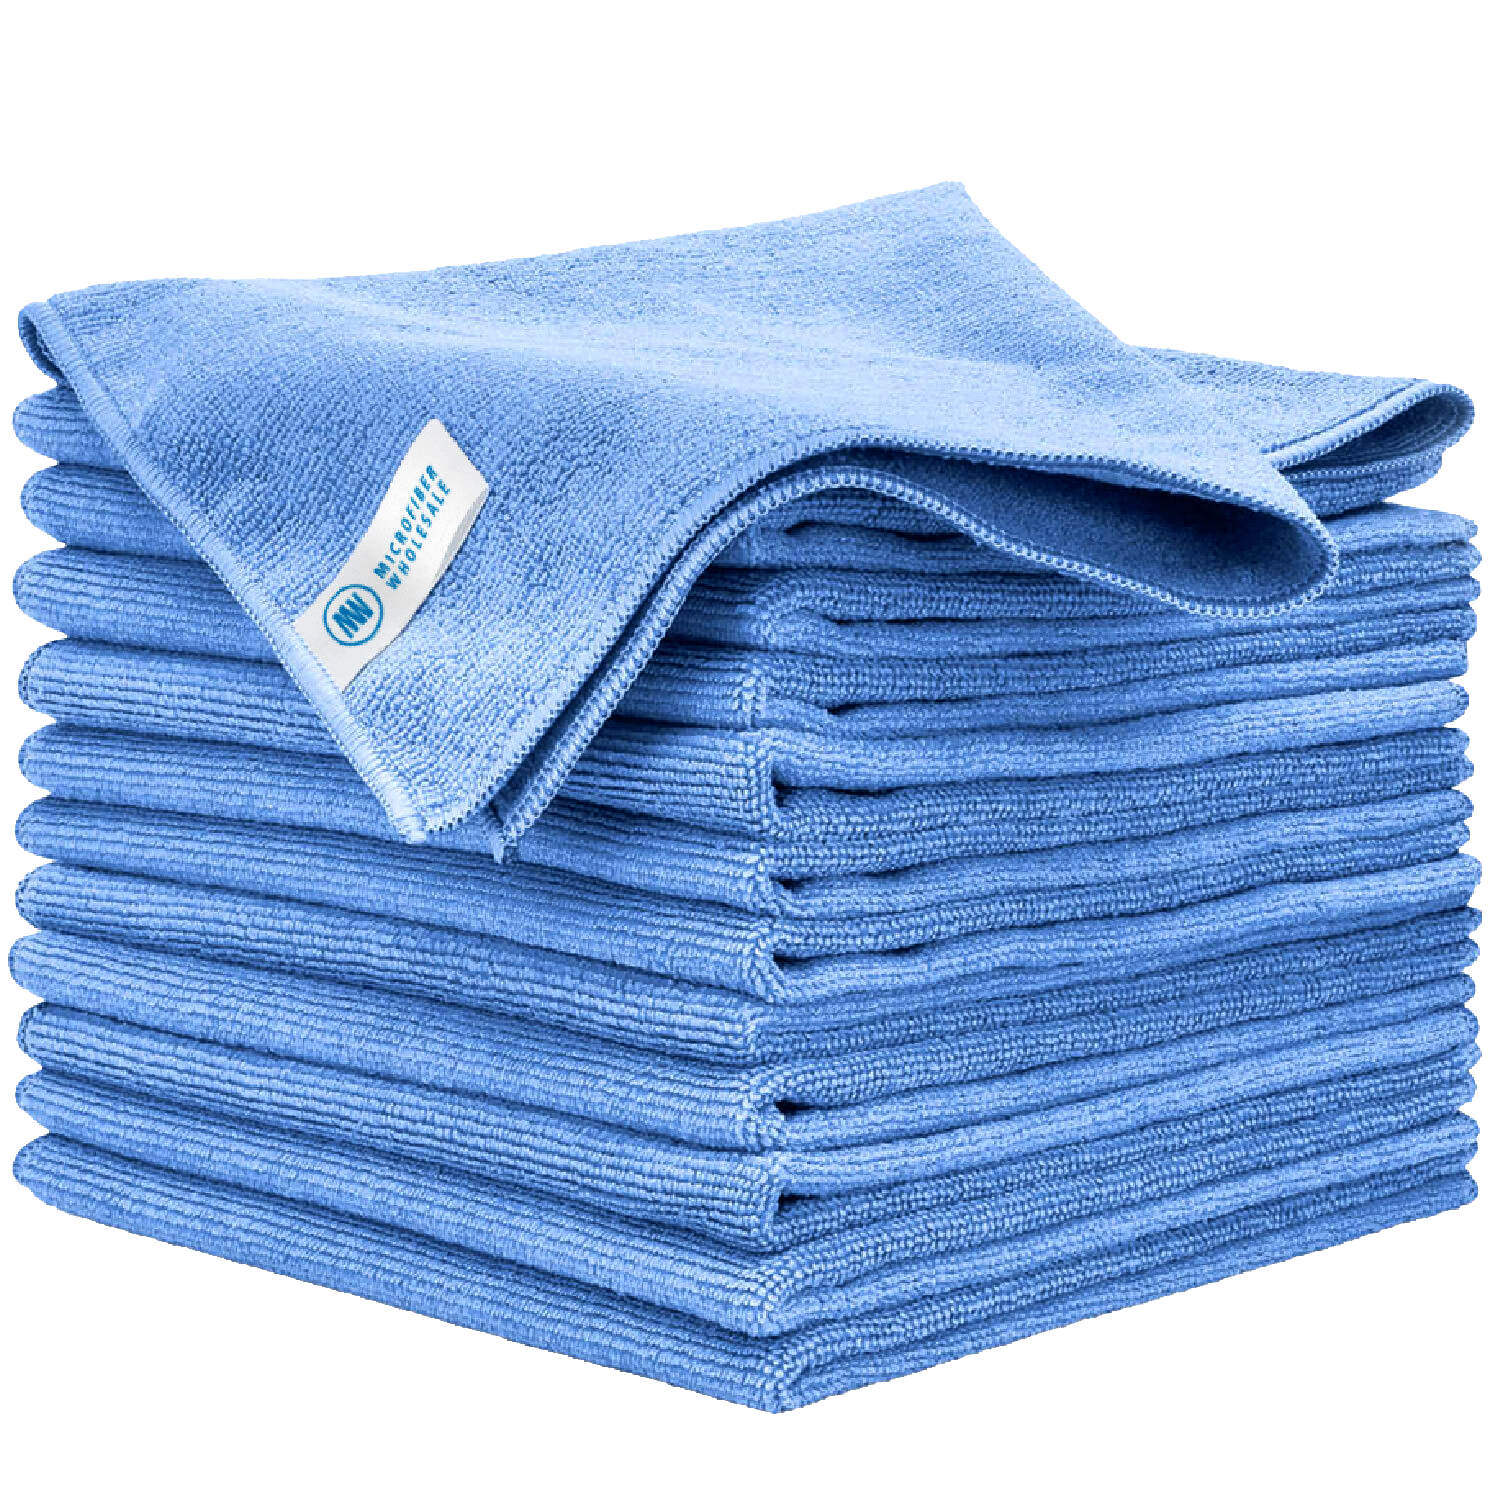
The key to truly clean gym equipment is to wipe it down with a disinfectant cleaner and a microfiber towel. The microfiber is effective enough to pick up over 90% of dirt and germs even with just water, so adding a disinfecting cleaner makes it nearly invincible.  

A high-quality disinfectant cleaner (our favorite is Spic & Span Disinfecting 3 in 1 and Windex Disinfecting Multisurface) allows you to wipe the surface truly clean with the soap solution then leave the surface damp with enough product to air dry slowly, so it kills germs as it dries. Check the manufacturer instructions for your product, but most disinfectants need at least 60 seconds to sanitize, 5 minutes to disinfect, and 10 minutes for full hospital grade disinfection.

As we’ve explained in other articles, sanitizing reduces your exposure 1,000 fold, but disinfection reduces it 100,000 fold, so it’s worth it to make sure you keep the key touchpoints of the machine damp a few extra minutes. Just be careful not to use a soaking wet towel such that you drip chemical into the seams around electrical buttons and housings, potentially shorting the equipment.  

Misting machines with disinfectant (our favorite is Betco Quat-Stat 5) between deep cleans is a great way to keep your gym from becoming the next Super Spreader hub, just make sure you’re keeping up with full cleanings to keep the misting effective.

Insider tip: If your gym can’t afford one of those fancy $1K electrostatic sprayers, you can get similar results from a set of $8 Flairosol spray bottles that are usually used in hair salons. The spray won’t be magnetically attracted to surfaces and wrap around the back of objects like the mist from an electrostatic sprayer, but the fine mist will give you great even coverage without flooding the machines and can easily be directed to the underside and backs of handles with a mere flick of the wrist.

3. Detox your dumbbells


Weights can be some of the most unexpectedly grossest items in a gym, especially rubber and neoprene coated dumbbells that cling to sweaty palms and their dead skin cells.  

Unlike the exercise equipment, careless athletes tend to forget to wipe their weights down, especially when they’ve used several sets for different exercises. Luckily, weights are pretty easy to bring back to life with the right products and a little patience.  

For most neglected weights, all they need is a quick tubby time in a bucket bath of warm water and dish soap. You won't actually dunk the weights themselves in the bubble bath!

Your microfiber towel will take the plunge, then just wring it out and rub down the weights till they come clean. If the weights are stubbornly grimy, a magic eraser can work wonders to pull embarrassing dirt stains off of brightly colored weights. Be careful not to leave your weights wet too long and to dry them thoroughly, as wet weights can rust.  

If you’re inheriting someone else's sloppy rusty workmanship on bare metal weights, don’t fret, as a soak in 50:50 vinegar water solution for a few days will dissolve the rust (you can scrub the most stubborn bits with a fine bronze wool pad). Then just rinse and dry them well.

Insider tip: If you don’t want to waste time scrubbing all the rust off or don’t have time for the vinegar soak, Rust-Oleum Rust Reformer can be sprayed right onto rusty weights to turn the rust into a paintable base layer. Follow it up with a couple coats of Textured Rust-Oleum and your weights will be as pretty and grippy as new!

4. Unfunk your fabrics


This bonus tip is technically for gym users more than gym cleaners, but cleaners and bodybuilders have one thing in common, which is funky smelling clothes.  

Activewear, especially polyester, nylon and other artificial stretch fabrics, are notorious for bonding to odor and stains with a horrible vengeance. Cleaning uniforms after a long day's work can suffer a similar stinky fate, as can their microfiber cleaning towels.

The good news is all of these stinky situations can be solved the same way, with an active wear focused laundry detergent (our tested favorite is Sweat-X Max Odor Defense). Follow manufacturers instructions, but most activewear detergents can be used either to do a deep soak in a bathtub, or in a regular laundry cycle, depending on how funky your gear has gotten.  

To help keep your fabrics from getting funky again, consider switching to a mesh gym bag to allow your dirty gear to dry faster before bacteria gets growing (Mesh and water resistant nylon laundry bags can do the same to stop dirty cleaning rag stink, too).


Phew, you did it! Your gym is now pristine AND cleaning it counted as your cardio for the day…done, and done.

FAQ's

Find answers to our most frequently asked questions.

How To Videos

Watch how to efficiently and effectively use your microfiber.

Articles

Articles and tech tips on how to best use and care for your microfiber.

Interviews

Learn the best microfiber cleaning techniques from practiced professionals.

Continue To Cart Continue To Customize

By continuing with your order, you acknowledge and agree to the following:

Our property-marked towels are printed with a repeating pattern, and logo placement may vary from towel to towel.

You’ve chosen between receiving an emailed digital proof for a detailed review of your design at an additional cost of $20, or allowing our print team to use your uploaded file to prepare your order for printing.

We do not accept returns for printed property marked towels.